
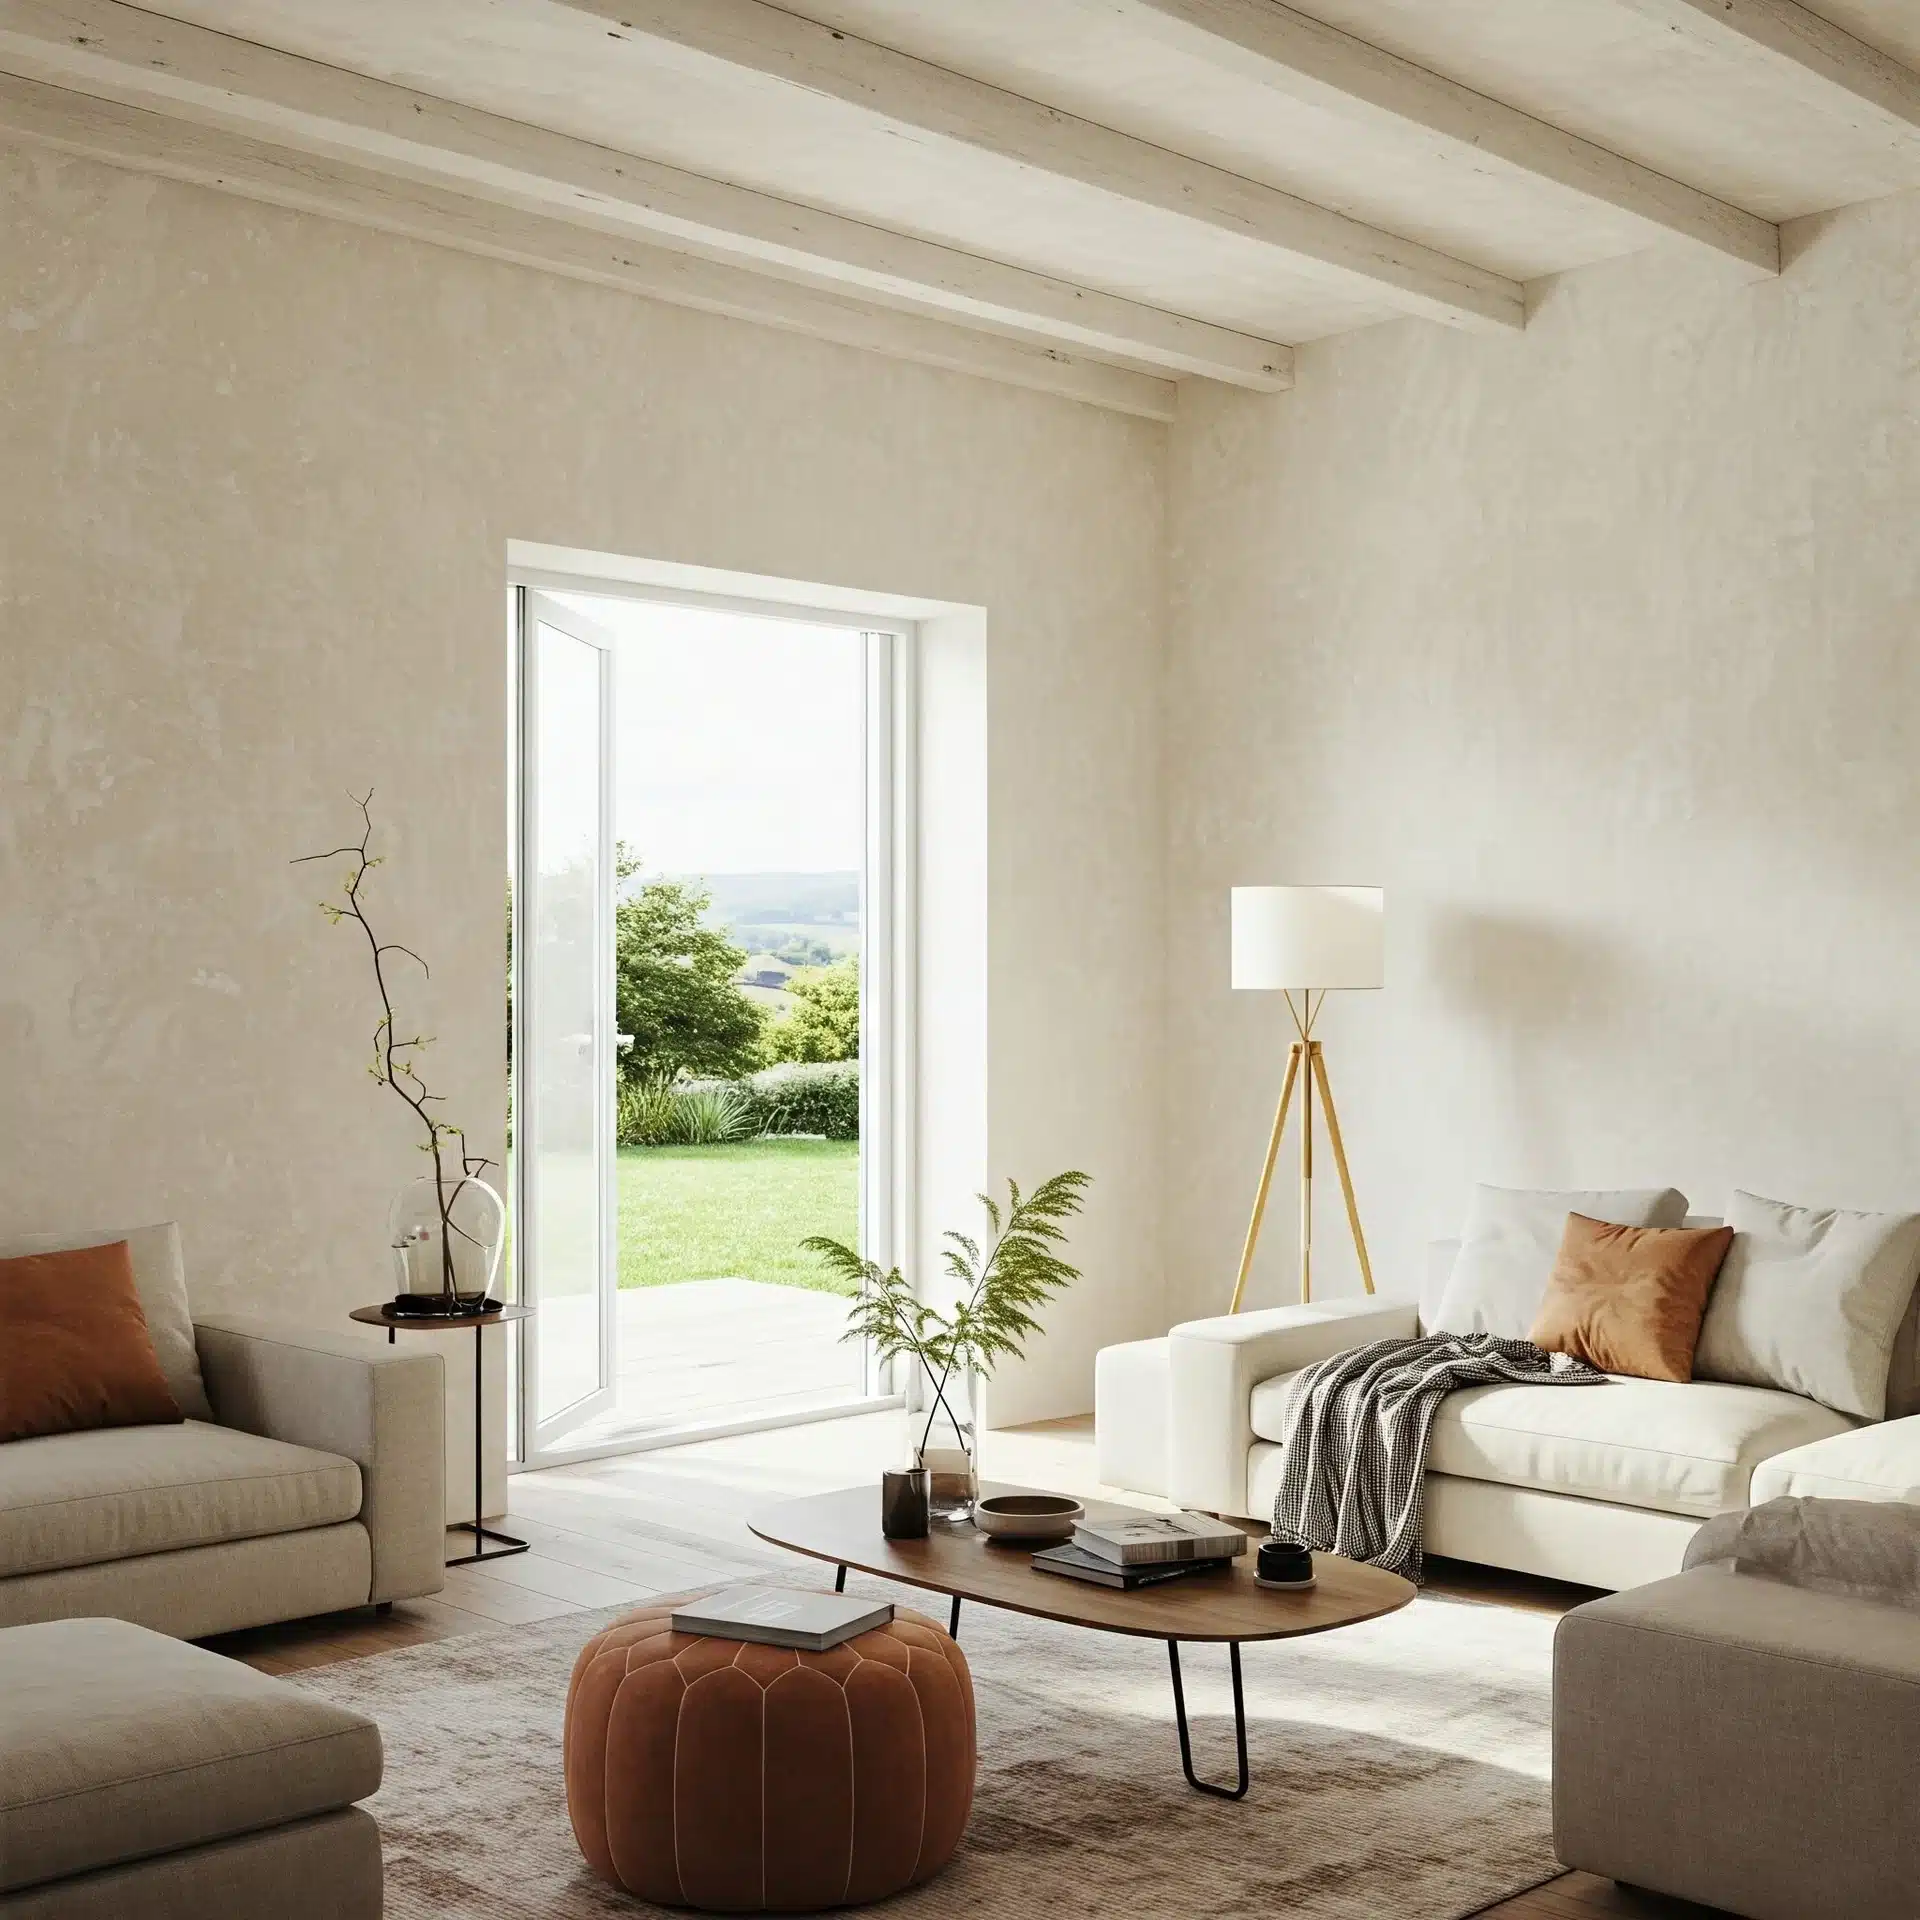
We have all been there. It is 11:30 PM on a Tuesday, and you are deep down the rabbit hole of architectural design reels on Instagram or Pinterest. You see a stunning, moody, expertly lit room with walls that look like they belong in a centuries-old Italian palazzo. The surface is smooth, almost glass-like, with a mottled, earthy patina that practically breathes luxury. The caption reads, “Venetian Plaster,” and suddenly, your perfectly fine, eggshell-painted drywall looks offensively boring.
So, what happens next? You do a quick online search, discover that a big-box hardware store sells a bucket labeled “Venetian Plaster,” and you think, How hard can it be? It’s basically just thick paint, right?
Stop right there. Put down the car keys. Step away from the plastic trowel.
High-end wall finishes are far more than paint with an attitude. They are a delicate balance of mineral chemistry, specialized trowel technique, and relentless patience. True artisan plasterwork relies on complex physical reactions and microscopic, hand-applied layers that demand years of dedicated mastery to execute correctly.
Here is exactly why those off-the-shelf DIY Venetian plaster kits usually end in a high-stakes drywall disaster, and why capturing authentic, old-world elegance isn’t something that can ever be packaged in a plastic bucket.
The Chemistry of the Con: What’s Actually in That Bucket?
To understand why the DIY kit fails, you first have to understand what authentic Venetian plaster actually is. Real, traditional plaster is a marvel of natural chemistry. It is made from slaked limestone (limestone that has been fired in a kiln and then aged in water) mixed with fine marble dust. When applied to a wall and exposed to carbon dioxide in the air, the mixture undergoes a chemical reaction and literally turns back into stone. It is eco-friendly, naturally mold-resistant, incredibly durable, and boasts a luminous depth that synthetic materials simply cannot replicate.
Now, let’s look at the “DIY Venetian Plaster” you just picked up in aisle four.
If you read the label carefully, you will likely find that it is not plaster at all. It is heavily thickened acrylic paint—essentially, drywall joint compound mixed with plastic polymers and synthetic thickeners. It does not cure into stone; it just dries into a thick, rubbery shell.
Because it is an acrylic-based imposter, it lacks the translucency of genuine marble dust and lime. Instead of a multi-dimensional, living wall that reflects light in complex ways, you get a flat, plasticky surface that feels entirely lifeless. You are essentially paying a premium to smear heavy-duty spackle over your perfectly good drywall.
Real-World Scenario: Dave’s Dining Room Disaster
Let’s introduce a hypothetical homeowner. We’ll call him Dave. Dave lives in Overland Park and wants to create a sophisticated accent wall in his dining room before hosting his in-laws for the holidays. He buys two gallons of a popular DIY plaster kit, a cheap plastic trowel, and a roll of painter’s tape. Armed with a large coffee and the unearned confidence of a man who just watched a five-minute online tutorial, Dave gets to work.
Almost immediately, Dave encounters a phenomenon known in the trade as “flash drying.” Synthetic plasters dry incredibly fast, especially in modern climate-controlled homes. Unlike real lime plaster, which has a generous “open time” allowing artists to blend edges smoothly, the acrylic kit begins to skin over in minutes.
Dave applies a section on the left, but by the time he moves to the right, the first section is already drying. When he tries to feather the wet material into the dry edge, the trowel drags, tearing the surface and creating ugly, jagged pill marks. Panic sets in. Dave starts applying it thicker to cover up the mistakes.
Four hours later, Dave’s dining room wall doesn’t look like an elegant Venetian villa. It looks like a poorly frosted sheet cake from a grocery store bakery. It is heavily textured, completely uneven, and aggressively shiny in all the wrong places. Worse yet, because it is essentially a thick plastic coating, sanding it off will require heavy-duty mechanical sanders, destroying the underlying drywall paper in the process. Dave’s “affordable” weekend project just became an expensive remediation job.
True artisans understand how to manage environmental factors. Our team adjusts for room humidity, temperature, and airflow, using techniques that take years to master, ensuring a seamless, organic movement across the entire wall.
The Illusion of Forgiveness: Why Preparation is Everything
There is a pervasive myth in the DIY community that thick finishes like plaster are great for covering up bad walls. If you have nail pops, visible drywall seams, or a terrible 1990s orange-peel texture, surely a thick layer of mud will hide it, right?
Wrong. Venetian plaster does not hide imperfections; it practically puts a spotlight on them.
Because fine plaster is applied in micro-thin layers, often less than a millimeter thick per coat, it telegraphs every single bump, dent, and seam underneath it. If your wall is not perfectly flat (what professionals call a Level 5 drywall finish), your final plaster job will look wavy and distorted.
When a DIYer wipes the wall down with a damp rag and calls it “prepped,” they are setting themselves up for failure. Professional preparation is a grueling, meticulous process. It involves extensive skim coating, perfectly feathering edges, and applying a specialized quartz-aggregate primer. This specific primer provides the necessary “tooth” or grip for the plaster to adhere to. If you apply heavy acrylic plaster over standard latex wall paint, the moisture can re-activate the old paint, leading to catastrophic peeling and flaking within months.
At Bates Painting, preparation is an art form in itself. We honor your home’s unique architecture by ensuring the foundational layer is absolutely flawless before the first ounce of custom finish is ever applied.
Real-World Scenario: Jessica’s Color Catastrophe
Consider another scenario. Jessica, a homeowner in Leawood, is aiming for a warm, earthy, “Tuscan Sunset” terracotta color for her home office. She takes her color swatch to the hardware store, where they squirt a few drops of synthetic tint into the plaster base, shake it up, and hand it back to her.
Here is the problem: Thick architectural coatings do not dry the same way standard liquid paints do. Because of the sheer volume of the material and the way light interacts with its varied thickness, plaster can dry up to three shades lighter—or darker—than it appears in the bucket. Furthermore, standard factory tints can behave unpredictably when mixed with heavy acrylic binders.
Jessica spends her entire Saturday applying the mixture. When it is wet, it looks exactly like the warm terracotta she dreamed of. But as she returns on Sunday morning after it has cured, her heart sinks. The wall hasn’t dried to an earthy terracotta; it has morphed into an aggressive, chalky shade of Pepto-Bismol pink.
This is where profound color theory becomes non-negotiable. Doug Bates, the visionary behind our brand, possesses a 35-year background in color theory. When you work with us, you are not picking a pre-mixed formula from a factory chart. We offer complimentary, bespoke color consultations to guide you through how different mineral finishes and pigments react to the specific natural and artificial lighting in your home. Our artists mix, test, and adjust tones with a fine-art sensibility, ensuring the final cured product matches your precise vision.
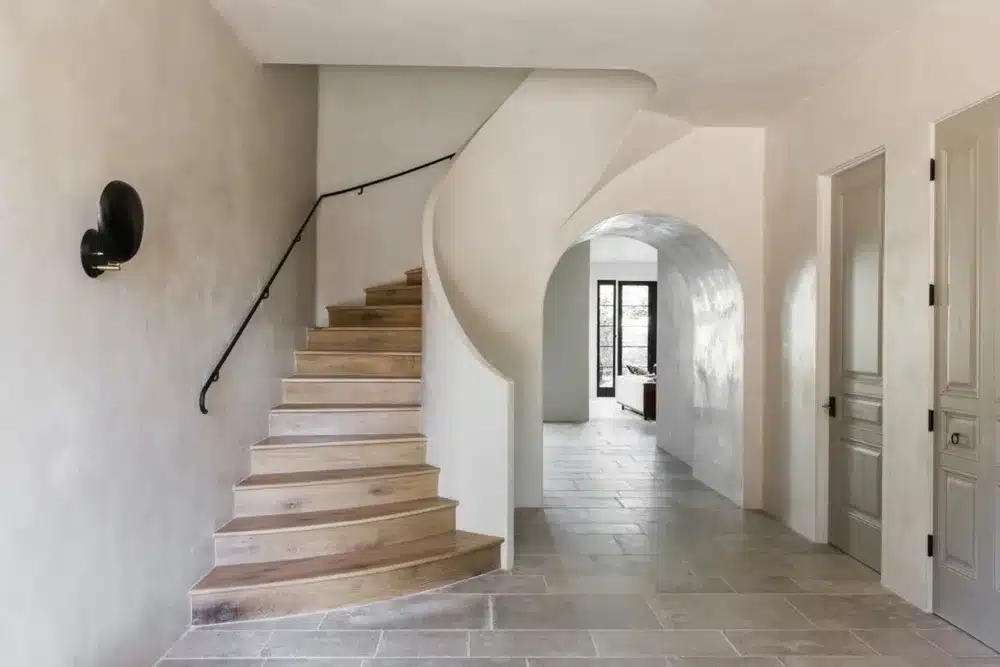
The Final Boss: Burnishing and Waxing (A Workout You Didn’t Sign Up For)
Let’s say you somehow managed to get the synthetic kit onto the wall smoothly, and you actually like the color. You are not out of the woods yet. The hallmark of true Venetian plaster is its mirror-like, glass-smooth finish. Achieving this requires a technique called “burnishing.”
Burnishing involves taking a specialized, highly polished stainless steel trowel and rubbing it aggressively back and forth over the drying plaster. With authentic lime and marble dust, this immense pressure compresses the stone particles, naturally polishing them to a brilliant, varied shine that feels like smooth marble to the touch.
Try doing that with a DIY acrylic kit. Because the material is plastic-based, applying high pressure with a metal trowel creates brutal friction. Instead of polishing the wall, the trowel drags, overheats the acrylic, and often leaves dark, ugly metal burn marks across your pristine surface. If you push too hard, the rubbery acrylic can simply peel right off the wall in large strips.
And if you do manage to get a sheen, it usually looks like a cheap gloss paint rather than natural stone. To mimic the depth of real plaster, these kits often require you to apply a topcoat of tinted wax. Applying wax evenly over a large vertical surface is incredibly difficult. One wrong move, and the wax goes on too thick, leaving milky, cloudy streaks that ruin the entire effect.
Not to mention, burnishing a 200-square-foot room is a grueling upper-body workout that will leave your shoulders screaming for days. Why suffer through an amateur CrossFit session only to hate the final result?
Leave the Canvas to the Artists
Your home is too valuable to serve as a testing ground for cheap hardware store gimmicks. A true, artisanal wall finish is a massive investment in the aesthetic and emotional resonance of your space. It transforms a standard drywall box into an enduring statement of beauty and design.
Unlike national franchises or standard contractors who view painting as a mere utility, Bates Painting views every project through the lens of creative refinement. We hire artists first and teach them the trade, ensuring that every brushstroke and trowel movement is layered with intention. We specialize in the old-world elegance of true limewash and mineral-based chemistry, delivering eco-friendly, breathable, and deeply luxurious results that will stand the test of time.
Don’t let a bucket of synthetic mud ruin your weekend or your walls. If you want the timeless, head-turning result of a European estate, trust the professionals who approach your home with unparalleled craftsmanship and fine-art sensibility.
With Bates Painting, your home is our canvas. Let’s create something extraordinary together.
Frequently Asked Questions
1. Can I fix a failed DIY Venetian plaster wall, or do I need to tear down the drywall?
You usually do not need to replace the drywall, but fixing it takes substantial labor. Because synthetic plaster kits dry into a thick, rubbery acrylic shell, standard hand-sanding rarely works. The wall must undergo heavy mechanical sanding to knock down high spots, followed by a full skim coat of drywall compound to restore a flat surface. In worst-case scenarios where the underlying drywall paper was torn during application, targeted repairs will be required before any new finish or paint can go on.
2. What is the main difference between genuine Venetian plaster and a store-bought kit?
Real Venetian plaster is an all-natural mixture of slaked lime and ground marble dust. As it cures, it absorbs carbon dioxide and chemically transforms back into natural limestone, creating a breathable, mold-resistant, and light-reflective surface. DIY kits are essentially thickened latex paint loaded with plastic polymers. They dry into a flat, plastic coating that traps moisture and lacks the translucent, multi-dimensional luster of real stone.
3. Can professional Venetian plaster be applied directly over existing painted walls?
Yes, but only with meticulous preparation. The wall must be flawlessly flat (a Level 5 drywall finish) and primed with a specialized quartz-aggregate primer that gives the plaster a textured surface to grip. If your current wall has an orange-peel texture, gloss paint, or structural dents, those must be repaired and leveled first. Applying fine plaster over unprepared walls will highlight every single flaw underneath it.
4. Is Venetian plaster suitable for bathrooms or high-humidity areas?
Authentic lime plaster is naturally alkaline, which makes it inherently resistant to mold and mildew, making it a great option for powder rooms and kitchen accents. However, for high-moisture zones or direct water contact like shower enclosures, specialized waterproof plasters (such as Moroccan Tadelakt) and heavy wax sealants are required. Synthetic DIY kits should never be used in humid spaces, as trapped moisture will cause the acrylic layer to bubble and peel.
5. How do you clean and maintain authentic Venetian plaster walls?
Real plaster is surprisingly low-maintenance once properly sealed with a protective coat of natural wax. For regular upkeep, simply wipe the surface with a soft microfiber cloth and warm water. For stubborn spots, a mild dish soap works well. Never use abrasive scrubbers or harsh chemical cleaners, as they can strip the protective wax coating and dull the stone’s polished sheen.